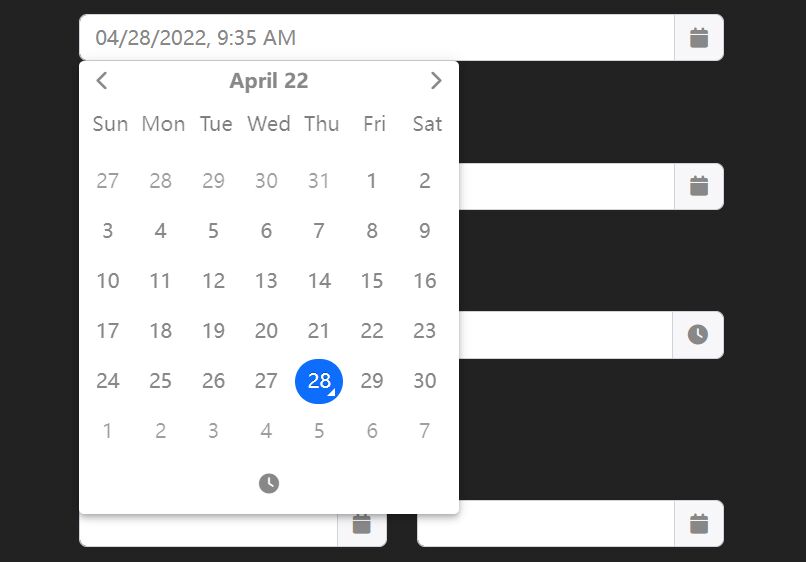
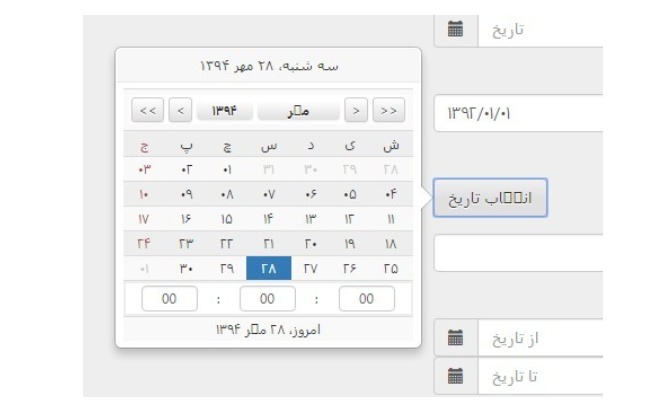
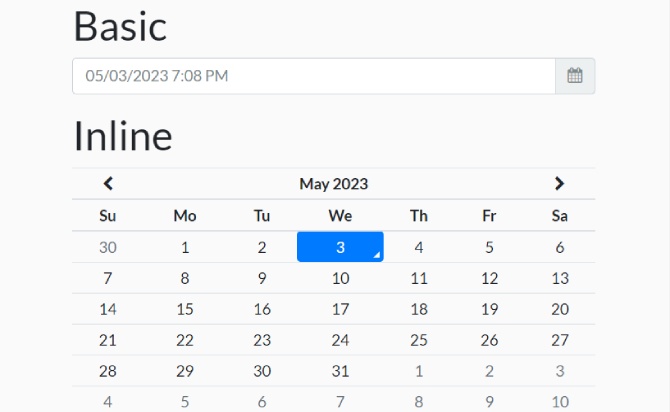
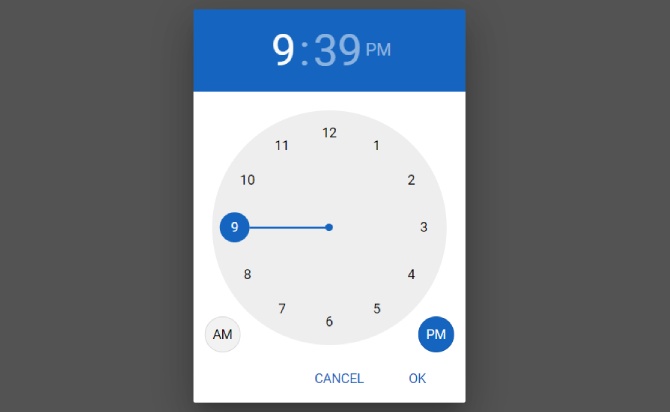
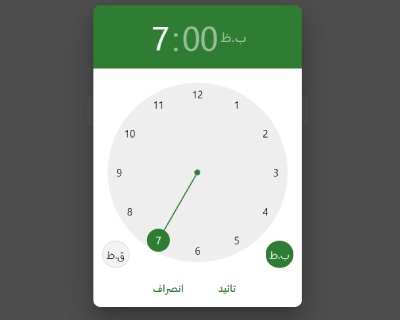
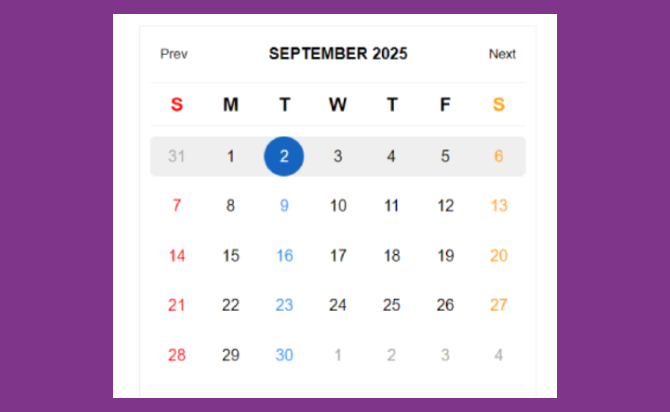
Tempus Dominus is a powerful and customizable date/time picker plugin for Bootstrap. Developed by Eonasdan, the plugin offers a range of features and options to make it easy to select dates and times on a website or application. It includes support for a variety of languages, date/time formats, and timezones. The plugin is built with JavaScript and Moment.js, which makes it fast and efficient.
It also offers several customization options, such as color schemes, date/time limits, and week start day. Tempus Dominus is easy to install and use, with clear documentation and examples. It’s a great tool for enhancing the user experience on your website or application, making it easier for users to select dates and times.
Table of Contents
Features:
- Multiple languages.
- Automatic language detection.
- 5 view modes: ‘clock’ | ‘calendar’ | ‘months’ | ‘years’ | ‘decades’.
- Allows to enable/disable dates.
- Allows date range selection.
- Allows to disable/enable dates & times.
- Allows to disabled days of the week.
- Allows to select multiple dates.
- Smart positioning (requires popperjs library).
- Removed jQuery and Moment.js dependencies.
How to use ?
you can add jQuery librarey script.
<script src="/path/to/jquery.min.js"></script>
<script src="/path/to/dist/js/jQuery-provider.min.js"></script>
Add the needed popperjs library, Font Awesome 5 and Tempus Dominus’ files in the document.
<link rel="stylesheet" href="/path/to/dist/css/tempus-dominus.css" />
<link rel="stylesheet" href="/path/to/font-awesome@5/all.min.css" />
<script src="/path/to/popperjs@2/popper.min.js"></script>
<script src="/path/to/dist/js/tempus-dominus.js"></script>
Attach the date picker to an input field.
<input id="example" type="text" />
// Vanilla JS
new tempusDominus.TempusDominus(document.getElementById('example'), {
    // options here
});

// jQuery
$('#example').tempusDominus({
  // options here
});
Enable a trigger button to toggle the date picker.
<div
  class="input-group"
  id="example"
  data-td-target-input="nearest"
  data-td-target-toggle="nearest"
>
  <input
    id="exampleInput"
    type="text"
    data-td-target="#example"
  />
  <span
    class="input-group-text"
    data-td-target="#example"
    data-td-toggle="datetimepicker"
  >
    <span class="fas fa-calendar"></span>
 </span>
</div>
// Vanilla JS
new tempusDominus.TempusDominus(document.getElementById('example'), {
    // options here
});

// jQuery
$('#example').tempusDominus({
  // options here
});
You can also attach the date picker to any element within the document.
<span
  id="example"
>
  <i class="fa-solid fa-calendar"></i>
</span>
// Vanilla JS
new tempusDominus.TempusDominus(document.getElementById('example'), {
    // options here
});

// jQuery
$('#example').tempusDominus({
  // options here
});
Set the language of the date picker. Available locals:
- de
- en
- es
- it
- nl
- ro
- ru
new tempusDominus.TempusDominus(document.getElementById('example'), {
    localization: {
      dayViewHeaderFormat: { month: 'long', year: '2-digit' },
      locale: 'es',
      startOfTheWeek: 0
    },
});
Combine two date pickers to create a date range picker.
<!-- Date Picker 1 -->
<label for="linkedPickers1Input" class="form-label">From</label>
<div
class="input-group log-event"
id="linkedPickers1"
data-td-target-input="nearest"
data-td-target-toggle="nearest"
>
  <input
    id="linkedPickers1Input"
    type="text"
    class="form-control"
    data-td-target="#linkedPickers1"
  />
  <span
    class="input-group-text"
    data-td-target="#linkedPickers1"
    data-td-toggle="datetimepicker"
  >
    <span class="fa-solid fa-calendar"></span>
   </span>
</div>

<!-- Date Picker 2 -->
<label for="linkedPickers2Input" class="form-label">To</label>
<div
  class="input-group log-event"
  id="linkedPickers2"
  data-td-target-input="nearest"
  data-td-target-toggle="nearest"
>
  <input
    id="linkedPickers2Input"
    type="text"
    class="form-control"
    data-td-target="#linkedPickers2"
  />
  <span
    class="input-group-text"
    data-td-target="#linkedPickers2"
    data-td-toggle="datetimepicker"
  >
    <span class="fa-solid fa-calendar"></span>
  </span>
</div>
const linkedPicker1Element = document.getElementById('linkedPickers1');
const linked1 = new tempusDominus.TempusDominus(linkedPicker1Element);
const linked2 = new tempusDominus.TempusDominus(document.getElementById('linkedPickers2'), {
      useCurrent: false
});
// using event listeners
linkedPicker1Element.addEventListener(tempusDominus.Namespace.events.change, (e) => {
  linked2.updateOptions({
    restrictions: {
      minDate: e.detail.date
    }
  });
});
// using subscribe method
const subscription = linked2.subscribe(tempusDominus.Namespace.events.change, (e) => {
  linked1.updateOptions({
    restrictions: {
      maxDate: e.date
    }
  });
});
Done
Thanks for make jQuery plugin is developed by Eonasdan For more Helpfull for users, please check the demo page or visit the official website.